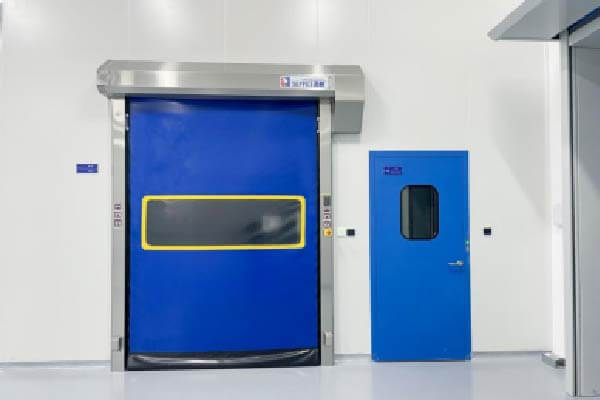
In today’s fast-paced world, fast rolling shutter doors have found applications in a wide range of industries, including electronics, food, and the chemical sector, greatly enhancing operational efficiency. However, installing these rapid doors can be challenging for those unfamiliar with the process. Incorrect installation can lead to operational issues, necessitating costly reinstallation. In reality, installing fast rolling shutter doors is a straightforward and convenient task. This guide will walk you through the process of correctly installing SEPPES fast rolling shutter doors.

Fast Rolling Shutter Doors Installation Guide
Before you start the installation process, follow these essential preparatory steps
1.Verify Accessories: Open the wooden box containing the rapid door. And meticulously check for completeness. Each door set should include 1 control box, 1 motor with encoder, 1 door box, 1 track, and a set of photoelectric and hardware accessories. Ensure all components are present.
2.Measure Site Compatibility: Compare the design drawing’s dimensions with the site’s actual opening to confirm compatibility. In order to verify that the guide rail brackets match in number and color, and ensure embedded brackets are correctly positioned in the site openings.
Installation Steps
1.Motor Installation: Align the motor’s reducer with the key strip opening and insert it into the shaft head. Secure the motor reducer and iron plate vertically using two L-shaped motor fixing plates.
2.Guide Rail Setup: Establish a horizontal line using a level to determine the door’s height. Fix the guide rail using 8*100 internal pull-out screws and adorn it with a stainless steel cover.
3.Corner Code Under the Track: Hang a vertical line on the track, install the corner code beneath it, and secure it firmly and vertically.
4.Safety Photoelectric Installation: Measure upwards at the lower opening of the track to ensure horizontal alignment on both sides. Fix the photoelectric transmitter and photoelectric receiving reflector on the photoelectric bracket, using stainless steel screws to secure the bracket.
5.Encoder Integration: Insert the encoder shaft head into the 10MM space reserved by the reducer and secure it using two screws. Ensure the screws are tightly fastened to prevent encoder loosening and subsequent operational issues.
6.Control Box Placement: Install the control box, positioning it 10cm away from the track on the motor side. Route radar wires, motor wires, optical wires, and encoder cables through the wiring tube into the control box.
7.Wiring and Debugging: Refer to the control box’s wiring diagram for proper wire placement to avoid errors.
8.Door Box Finalization: After successful debugging, fix the door box cover with self-drilling screws and secure it to the wall using expansion rubber plugs.

For assistance with high speed door. SEPPES offers professional CAD drawings, 3D renderings, English quotations, usage instructions, installation videos, and more. SEPPES boasts export experience across multiple countries and a wealth of industry expertise. If you require installation support, our team is ready to provide professional assistance.
By following these installation guidelines, you can ensure the efficient and error-free installation of fast rolling shutter doors, enhancing productivity and convenience across various industries. SEPPES remains your trusted partner in delivering top-quality rapid door solutions. Supplier cooperation with more than 60 Fortune 500 companies such as IKEA, Logitech, and Fresenius.


